Step by Step demonstration - Day 1
Oil painting tutorial of a composition of peonies in a glass vase in an old master style by artist Lisa Gloria
Lisa Gloria
3/28/20265 min read
Oil painting is pretty hard to do, and pretty hard to explain. It's kind of like cooking - if you do it a lot, you know what spices taste like and know which ones will work, you know what kind of heat level will poach rather than fry. Can you explain why you need basil and not oregano for a dish? Hard to convey, but when you know, you know. It's experience, confidence, and training.
In this demonstration, I'm going to explain as much of my process as seems fruitful. This is not alla prima; it's a multi-session process with days of drying time in between. No hocus pocus, just a real explanation of the choices and methods I employ to make something that hopefully turns out beautiful.
Okay, let's do this thing.

Materials: 9 x 12" Gessoboard, previously tinted with an imprimatura of ivory black + brown-pink (burnt sienna also works). Medium is always M Graham's Walnut Alkyd medium until the end.
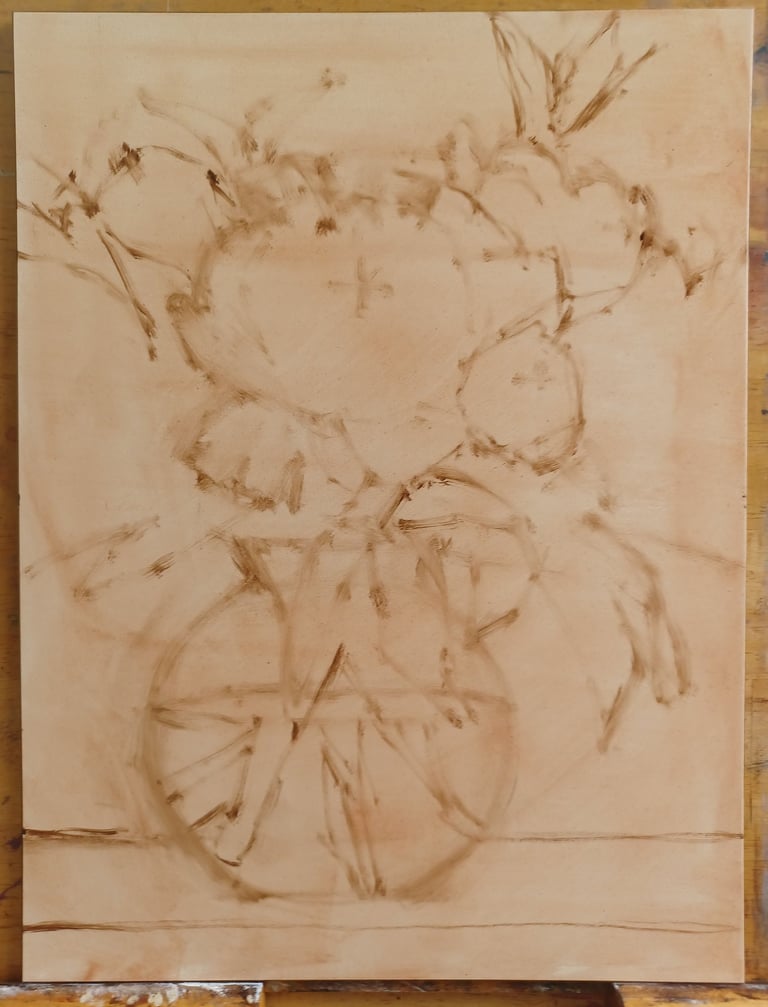
First, the drawing. I rubbed the panel (with dried imprimatura) with Walnut alkyd oil on a makeup sponge. Hot tip: makeup sponges work much better than paper towel, no lint. The panel is rubbed with oil to make it slippery so the drawing goes smoothly.
Brush is a small round. I added some oil to another mixture of ivory black + brown-pink (remind me to explain why brown pink is better in another post okay?) to get the sketch on the panel and used the sponge to move lines around a couple times and make adjustments.
Note a couple things: tracing has its place, but at some point you have to learn to draw. Tracing leads people to stay within the lines. My goal here is to lay out the big blocks of shapes and how they relate to each other, not to outline individual leaves. Also, you'll see a + in the middle of the flowers. I do this because I arrange flowers like groups of people, and the + is the face. The leaves are the hands (jazz hands, I usually say).
At this point, I like to stand back and ask "Why is this good?" It's a real bummer to get to the end of a painting and feel like the point slipped away, probably at this stage. What have I got - a neat reflection of the main peony and the vase being basically the same size, kind of a yin-yang thing. A subtle diagonal arch from the upper left leaves to the lower corner of the vase. A few places where the dark masses push beyond the picture plane, which gives a sense of tension. It's good to note at this stage where the frame will be and make sure your big shapes are either disappearing behind the frame or well away from it, but not "kissing" it, which looks weird.
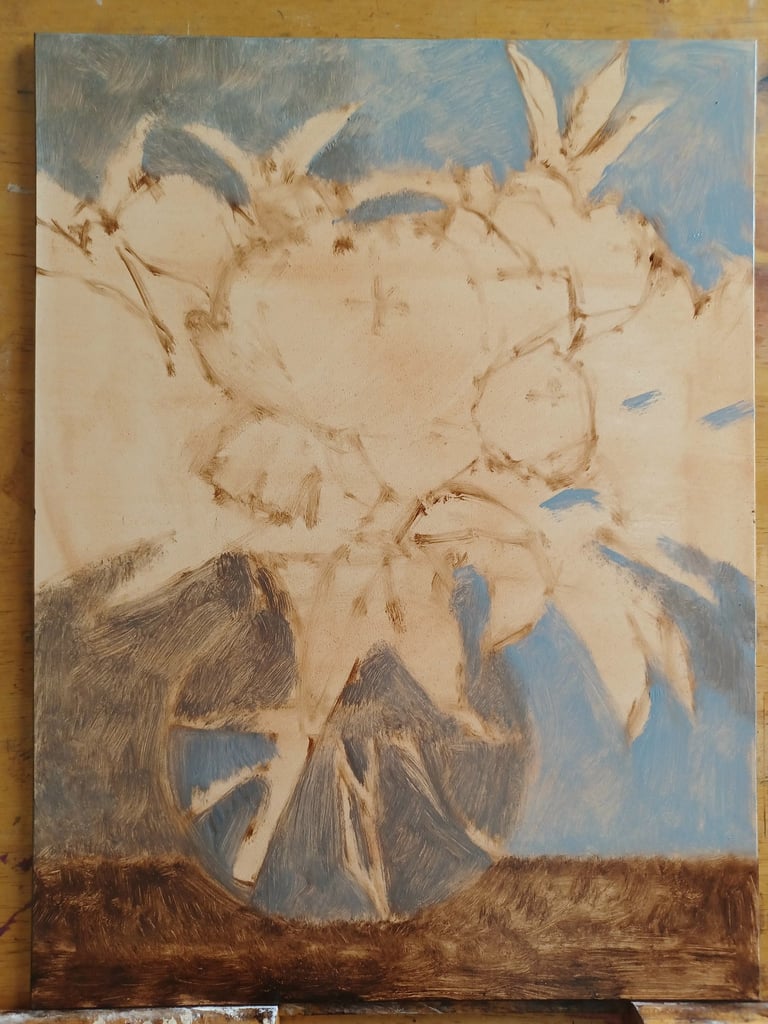
I like to work "back to front," meaning that I do the background and tabletop, then leaves and vessels, and flowers after. The reason is that the main dudes, the flowers, need a home to live in. The environment needs to make sense. Lots of other artists go the opposite way. You do you.
Here I've used the background color in a simple dark-light shift, refining the leaf shapes by adjusting them here. Notice that the glass globe is basically a reverse of the background shadows. That's a theme - glass and metal colors are made of the colors in the rest of the painting.
The background is thinly painted ultramarine blue + yellow ochre + titanium white. The shadow tone is that + the drawing mixture. I'm using a 1/2" filbert bristle. A flat would also do it.
About reusing that drawing mixture: I do a lot of things to ensure a harmonious surface, and part of that is reusing admixtures when I can. The tabletop is also the drawing mixture.
Here go the dark masses of the leaves. I used the drawing mixture + Winsor yellow +ultramarine blue to make a green-black that will be a very nice base for the leaves when I start to really work on them.
Now the composition is hitting some good notes. I feel optimistic. This is going to be a good one. At this point, I like to stand across the room and see if it's beautiful. Even a small painting like this can grab you from 20 feet away. Actually, it should. Also I take it to a mirror and make sure the vessel is symmetrical and correct. Also I look at it from an oblique angle to get a sense of the final painting - when you do this, the values collapse, your brain will invent detail, and you can imagine a sneak peek at your final image.
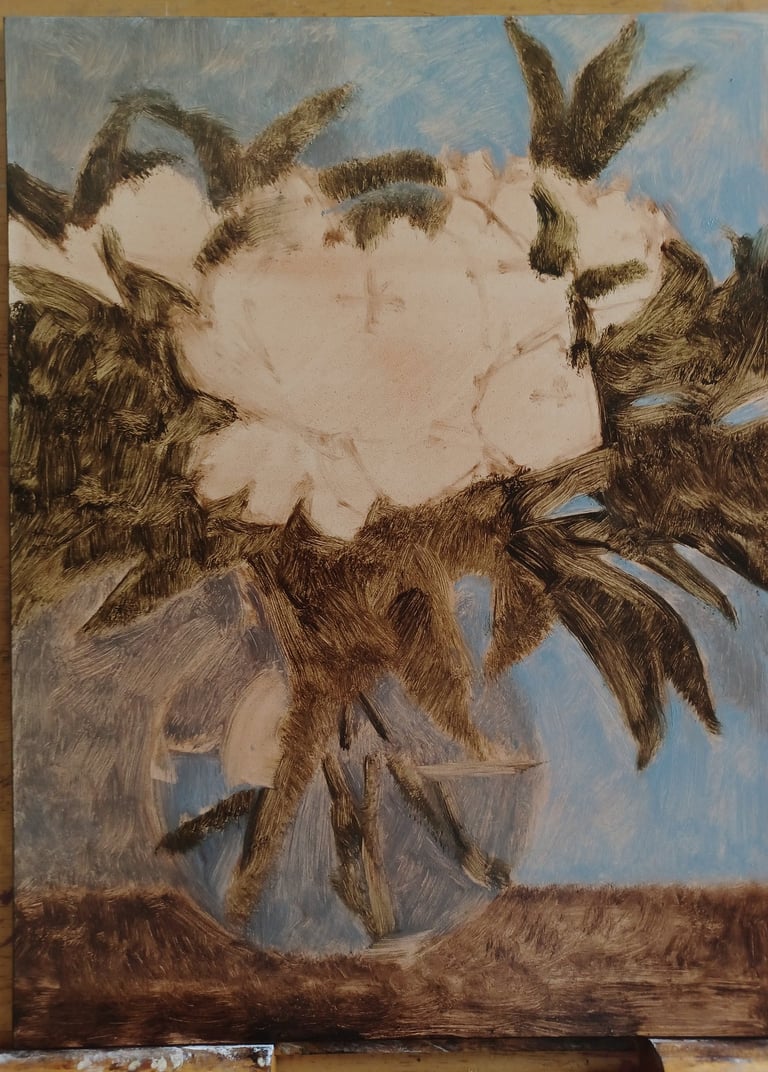

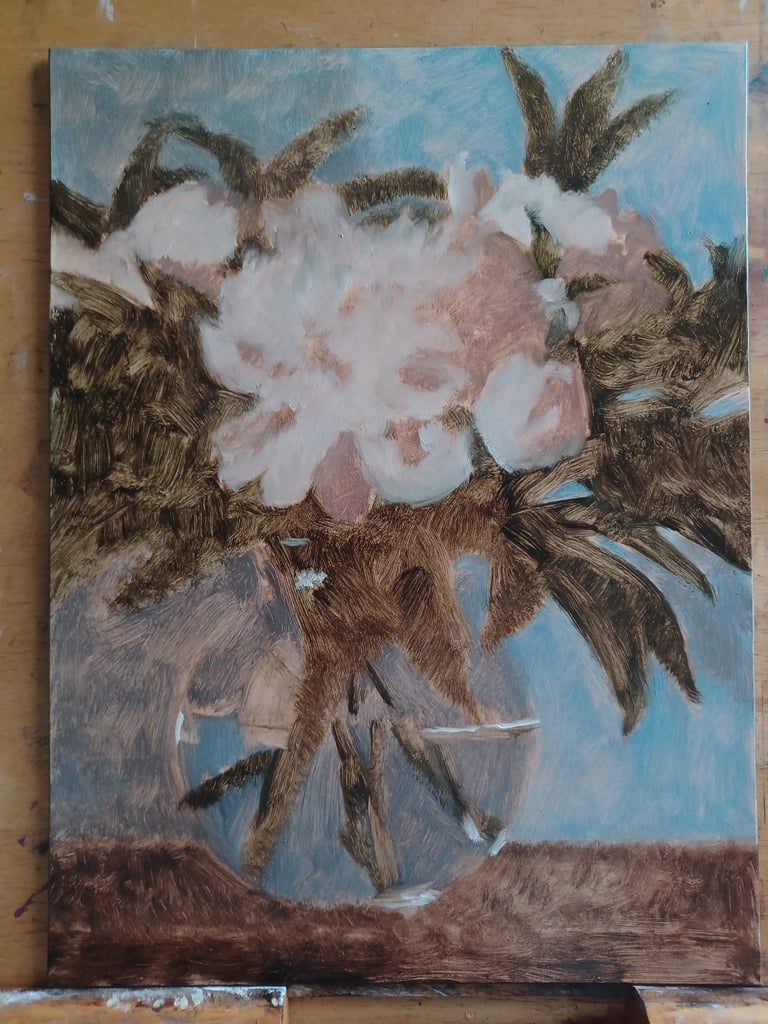
To finish the block in, I give the flowers a rough approximation of dark to light. The shadow is drawing mixture + alizarin + yellow ochre + Titanium white. The light is Titanium + yellow ochre. Each flower has a dark and light side, describing the basic shapes.
The highlights are thinly blocked in too. Basically the rough composition has been fully treated and I'm in a good position to work on this again in a few days!
Notice everything is thin paint and the imprimatura shows through a lot. That will be very helpful later. None of the colors are right, and they're not supposed to be. This is the base, the building block.
At this point, I still fight an urge to take a fanbrush and smooth it out. Which is silly and pointless, to be honest - almost everything here will be painted over so why obliterate my work? Also I used big brushes, so it's all loose anyway. A hard edge would be difficult to overcome, but I don't have any.
This process took about 2.5 hours, and most of that was on the drawing and adjusting the drawing. This is a fast start and on a very good day I can knock out 2 or three of these during daylight hours. Not today - today I started too late to squeeze in another one. But any day doing any paint of any kind is a good day.
See you next time!
LISA GLORIA
Contemporary fine art in a Naturalist, Realist style
Contact
Newsletter
lisa@lisagloria.com
© 2026. All rights reserved.